boho
We are taking this piece from Grandma's plate display to a boho-chic display and storage case. Talk about a perfect piece for a salon! I got to work on it right away knowing it would take sometime. I will break down how I go about refinishing pieces like this to hopefully help you do your own project!
Step 1: Strip It Down I had to take it ALL apart! All the hardware and hinges have to come off. All the glass had to carefully come out and then the back panel on the top hutch and bottom had to come off. This piece was actually two pieces so that was helpful for me to work on it and move it alone.
The back panels will be replaced with white bead board! Back panels are usually just stapled on so grab some needle nose pliers and a flat head to pry them out. These staples are long and if you are replacing the back panel just rip it off.
Step 2: Sand and Prime After it's all stripped down like a chop shop I sanded it with my electric sander and 220 grit sand paper. I ALWAYS sand to ensure the primer sticks too, just an extra step but I have learned to never cut corners. Laziness makes twice the work! After a quick sanding you HAVE to prime it! Don't skip this step or your paint won't stick! On this piece I used
Zinsser's Bulls Eye 1-2-3 Primer
Before you prime make sure you wiped down your piece with a tack cloth (semi-tacky cloth to catch the lint and dust) or just give it a good wiping. Prime using a foam brush and foam roller making sure to catch any drips. Try to give it an even coat.
This primer takes 7 days to cure and it DOES! I stick to the 7 days because it can lead to 5x the amount of work if it's not fully cured. It will be dry but it takes 7 days to fully adhere so DON'T RUSH! I do multiple projects at once so I just move onto the next one and then come back. (
fyi..I used this primer because the decorative work wasn't real wood. I prefer to spend the extra $ on this primer because I know it will stick to whatever material I am working on.)
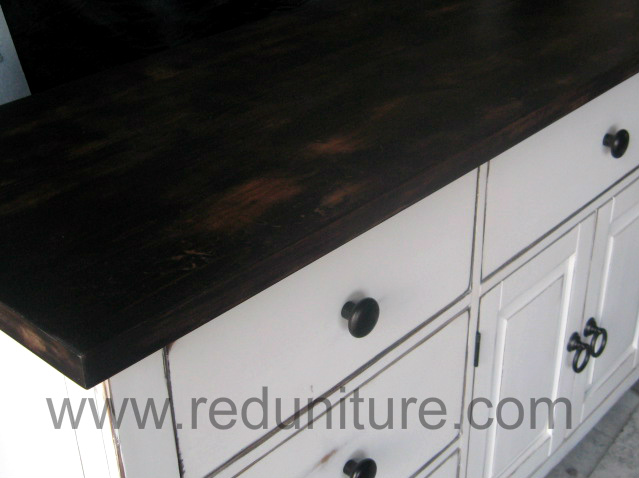
Step 3: Painting I use a professional airless sprayer but you can use a foam brush and roller, it will just take more time. We chose Cloudless by Sherwin Williams (SW 6786) in satin.
Some places I had to roll to avoid getting drips but the sprayer is the way to go. It would be nearly impossible to get into the crevices on the 3 bottom doors painting by hand.
Step 4: Distressing This part is totally optional but I prefer it to show off all the detail in a piece and not to mention that any added nicks or scratches 'just adds character' and blends right in! I did a light sand by hand over all the edges and detailing to amplify them using 120 grit sand paper. Then I go back and hand sand using 220 grit paper or block to soften the edges and do some finishing touches.
Before distressing..
After distressing...
Step 4: Protectant To ensure a piece lasts I always use a protectant. Since I used water-based paint I have to use a water-based protectant (oil and water don't mix!) I use satin Polycrylic and used my sprayer again. This ensures a flawless finish.
Step 5: Attach Chicken Wire I got lucky on this part! I originally thought I would have to staple the chicken wire but this piece had these rubber pieces that held the glass in place (think weather stripping). So I cut the chicken wire to size then stuck the over hand in the frame and stuck the rubber things (I have no idea what they are called!) in the door frame to hold the chicken wire in place. NOTE: the chicken wire won't lay flat so you have to pull it tight to get it semi flat. Now since I had those rubber pieces I didn't have to staple it in. btw...I just used regular chicken wire found in the construction area at Home Depot. You will need tin snips to cut the chicken wire easily.
Step 6: Replace Back Panel I took the measurements and then had the bead board cut at Home Depot. They will cut it for free! Just make sure you measure twice, cut once! Usually you can staple the back panel on but the bead board is thicker so I used 5/8" nails and my cute little (but powerful!) pink hammer. Side note: my mom got me all these pink "women's tools" for Christmas and they are awesome! No more metric tape measure!!.....Do the corners then go back and fill in stapling every few inches.
Step 7: Put The Puzzle Back Together I put the hinges on first then attach each door. It usually takes a few tweaks to get the doors to hang even and swing correct so just make the necessary adjustments. I then replace the door handles using the original hardware and then replace the glass.
Step 8: Admire This is the most important part! Take a step back and admire your piece. Do a quick double take of everything and make sure it's all complete. Then I take my pictures and share them with you!!
What do you think? If you have any questions, just ask!


.JPG)


.JPG)